Thursday, December 8, 2011

Go Crazy With Room Spray

I see so many unique items out there and then at the same time I think there are twenty times more that are drab and boring. A sure way to get yourself and your product noticed is to stand out from the crowd!

I happen to be a room spray junkie! I have bottles of it all over my house. Some I've made but most I have purchased. I always say it's the packaging that gets their attention and the scent that gets them to buy! So combining awesome scent with unique looks is essential!

I have used just about anything that would not compromise the product from dried floral to coffee beans, mica, glitter, baby clothes pins and potpourri to strips of fabric, metals, and even silk floral inside my bottles. Anything that grabs the eye and will fit inside my bottle is fair game! Thinking outside the box is essential for this kind of product. Be noticed! Be different!

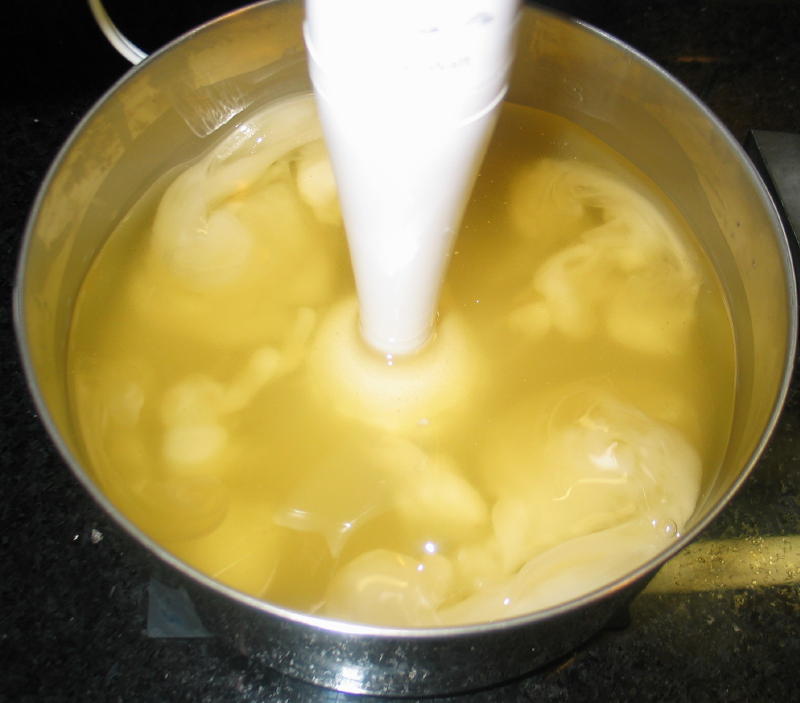
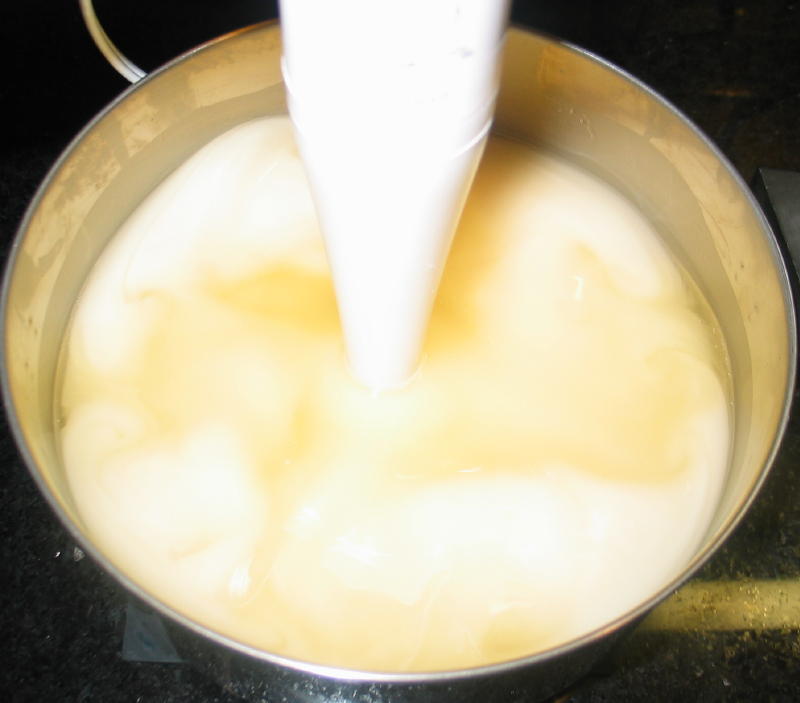
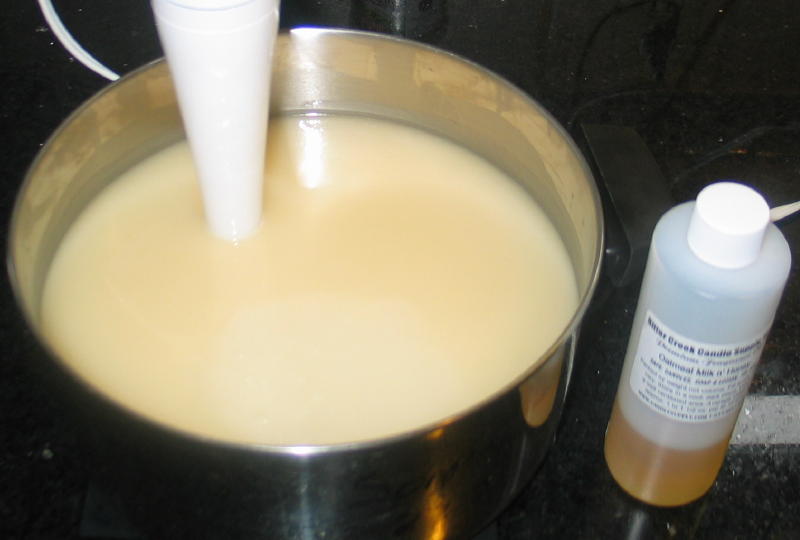
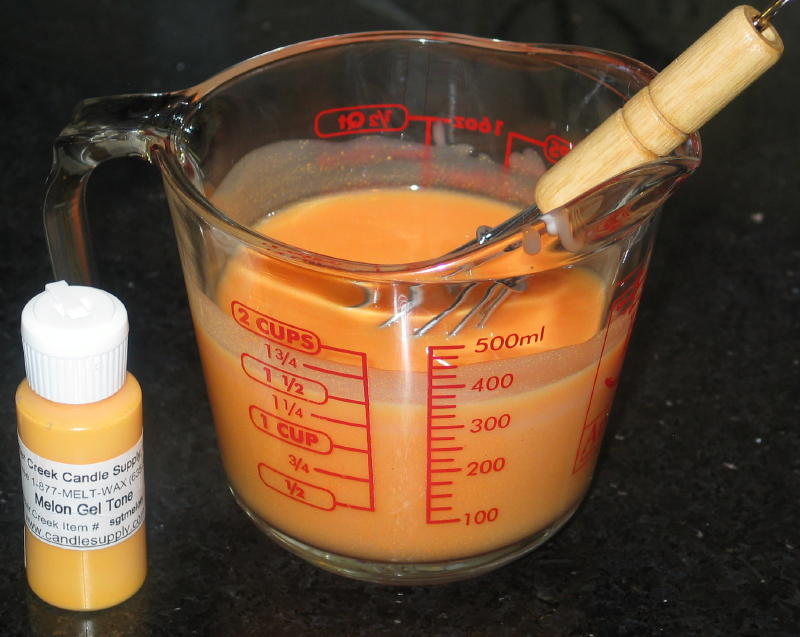
These are all made using BC products! You will need the following for these:

Cyclomethicone
Glitter or Mica
Bottles
Spray Caps

Labels
Fragrance Oil

These are made using our 4 oz Boston Round Bottle the 2 & 4 oz. Black Spray Caps and the Kraft Labels. The one on the left is scented in BNL Cucumber Melon and has Holographic Glitter inside, the Middle is scented in BNL Clean Cotton and has mini clothes pins I picked up from a craft store and the right bottle is scented in Fruity Loops and has Gold Mica inside.


As you can see the same basic product takes on three entirely different looks with a simple change of what's inside! The left bottle I made for the little boys, it's called Monsters Stay Away Spray the middle bottle I called Clothesline Fresh and the right bottle is made for girls and is called Pretty as a Princess Spray. You can use your imagination to come up with tons of names and variations of this product to make a name for your small business!


Happy Crafting!
Flicker
Bitter Creek Tech Support

Tuesday, October 11, 2011

How to make a Votive Candle.


Votive candles have always been one of my favorite to burn. They are small, store easily and I LOVE votive holders! They are all over my house. A lot of people are afraid to make these, they are actually quite easy and fun! You will need the following: IGI 4794 Votive Blend 44-24-18lt1 Wicks Fragrance Dye Votive Molds Begin by melting your wax. Use either a double boiler, Presto Kitchen Kettle or a commercial wax melter.


We also offer a Votive Starter Kit

Heat wax to 180-190*. Once wax reaches desired temp, add your dye, blend well then add fragrance and again blend well. This wax should be poured between 175-185* into room temp (72* or greater) or heated molds to minimize skip lines.


It is advisable to poke relief holes around the wick of the candle once the wax has become solid but is still pliable.


After the first pour has cooled, reheat your reserved wax from your first pour and refill the void (sink hole) in the candle until you reach the level of the first pour. You will want your second pour to be 10* hotter than your first pour to minimize lines from the second pour. Repeat the repour process as necessary.
Give the candles at least a few hours to cool down. I usually wait overnight and remove the next day. If they are hard to get out of the molds, you may want to put them in the freezer for a few minutes. You may also find for the first few times you use a new mold you will need mold release. The spray and powder form both work excellent in this wax.
Happy Candlemaking!
Flicker

Wednesday, October 5, 2011

How to make basic CP Soap

You Will Need:

Stick Blender
Lye
Distilled Water
Coconut Oil
Palm Oil
Apricot Kernel Oil
Castor Oil
Soap Safe Fragrance Oil
Wire Whisk
Lined Wooden Soap Box
Vegetable Peeler
Soap Cutter Flat or Serrated
Gel Tone Colorant
Goggles
Rubber Gloves (long)
White Vinegar
Apron
Scale
Thermometer
Stainless Steel Pot
Pyrex Measuring Cup
Heavy Duty Plastic Pitcher
Long Plastic or Stainless Spoon
Soup Ladle

   We also offer a CP Soapmaking Starter Kit


Directions:
Gather & organize all supplies and ingredients.

Recipe:
16oz Coconut Oil
16oz Palm Oil
20oz Apricot Kernel Oil
3oz Castor Oil
3oz Soap Safe Fragrance Oil
15.5oz Distilled Water
7.9oz Lye (Sodium Hydroxide)
Gel Tone Dye

Measure 15.5oz Distilled Water into a tall pitcher.Note: Use cool or room temperature water, never warm or hot water.
Measure 7.9oz LyeNote: Always wear protective goggles, gloves, long sleeves & apron when using lye. Keep a bottle of Vinegar nearby to neutralize any lye water spill.

If you get lye on your skin do not use vinegar just rinse well with plenty of fresh water.


Tip: Put it in a spray bottle and label it Vinegar with a sharpie.
Use ice & water to help speed the cooling of your lye mix. This step is optional but I find if I do it this way, the lye mixture will be ready to go by the time the oils are measured and melted.
Carefully add the lye to your waterNever add the water to your lye!It can cause a volcano type eruption. 
Stir well until completely dissolved (be careful not to breathe in any fumes).

Note: It is preferable to mix lye outside making sure wind is blowing at your back and that no children or pets are ever nearby.
The lye water will get to 210-220 degrees while you are stirring. Cool your lye mixture down to 90-100 degrees.
Measure & add solid oils:16oz Coconut Oil

Re-tare scale (this way you only have 1 pan to wash)
16oz Palm OilThen melt the solid oils on stove over medium to medium-low heat. Do not leave the pot while melting, stir until there are only small pieces of solids left then turn the burner off. The oils will continue to melt while you are measuring and adding your liquid oils.

Tip: I always add all my solid oils and butters first and melt them. Then I add my liquid oils last to help cool the oil mixture down.

Measure & add liquid oils:
20oz Apricot Kernel Oil
3oz Castor Oil
Let oil mixture cool to 90-100 degrees.
When lye mixture and oil mixture are between 90-100 degrees add the lye mixture to the oil mixture while using the stick blender (not turned on) just to stir with until oils have mixed with the lye.
Then run stick blender in short 20-30 second bursts.
After about 60 seconds of on and off blending:
Add 3oz of a soap safe fragrance oil & gently mix with your stick blender off (or use a wire whisk) until it is completely incorporated.
If mixture is still not to trace, use your stick blender to bring it to a light to medium light trace. (see picture below).
Trace is when your mixture will not separate back into oils and water. It is best tested by lifting your stirrer up a bit and letting some drip back into the pot. If it leaves a trace for a few seconds before melting back in with the rest, you have reached trace.


If you plan on swirling, use the ladle and reserve 1 to 1.5 cups of your soap mixture into a measuring cup.
If coloring, add your Gel Tone dye and mix well with a small wire whisk.
Pour dyed soap mixture into the center of your main pot. If you raise the measuring cup up about 12 inches it will get the dye all the way down to the bottom.Tip: I usually do half from that height (12 inches) and half from just a few inches above the mixture.
Swirl  lightly with spoon. Less is better because it will mix more when you pour it into the mold.
Pour soap mixture into your lined mold. Lightly tap your mold to make sure you have no trapped air in it by lifting it a inch or so and setting it down with a little force (do this several times making sure not to splash).
If you want it swirled more use the handle of a wooden spoon or something pencil sized.
Start by putting your handle all the way to the bottom of the mold, then move it up and down (the short direction) going from left to right. (the handle is where I stopped in the photo).
Then go from right to left (the long way).
You can now see the pattern

Cover the soap with plastic wrap.
Place the cover on your mold.
Insulate mold with old towels or blankets.Tip: I use 2 layers of bath towels.

Leave it sit 12-24 hours until firm.

Remove soap from mold by lifting the freezer paper on either side of the mold.
Leave the log sit another 12-24 hours.
Slice into 1" bars with a straight cutter.
Or with a serrated cutter.
Bevel edges with a vegetable peeler.
Finished slices should be stored somewhere  that they can cure for 4-6 weeks. Do not use an air tight container.
This batch will yield 14 1" thick bars with a cost per bar of $0.85 to $1.20 each.