
You will need:
Freezer Paper or Waxed Paper
ScissorsTape
Gather all of your items.

Tear off your paper 12" longer than your mold.

With the shiny side up fold 6" of one end over.

Fold other end over making sure it is exactly the same width as the mold.
Tip: Slide the first folded end up to the inside of the mold and make a small crease with your fingernail where the next fold should be made.

Remove cover and crease bottom edges with your fingernail making sure the creases are tight to the sides of the mold.

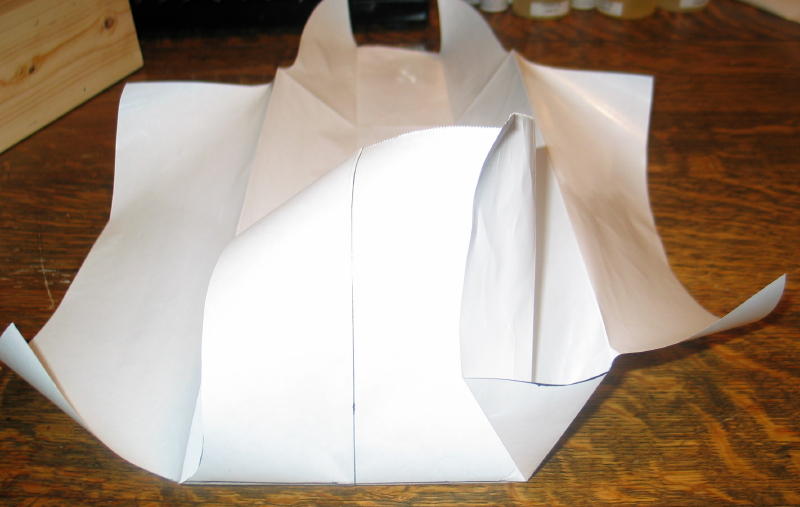
Remove paper from mold and lay on table. Cut out corners by following outside the corner fold by about 1/2" and rounding exactly at the corner intersections.
Note: I marked the folds with a pen so you can see them better and the bold lines are where the cuts will be made.

It should look like this when you are done.

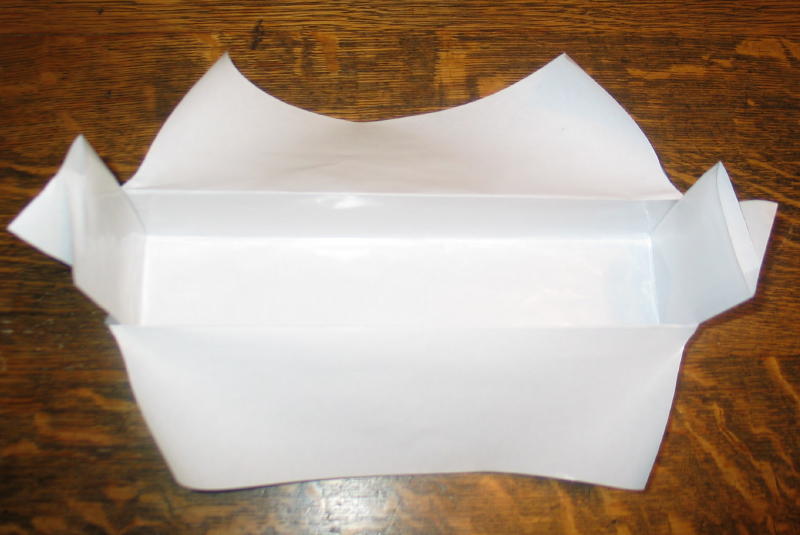
Re-crease the long bottom sides.

Fold the end flap up first so that the whole flat side will be touching your soap.
Repeat on other side.

Put a small piece of tape to hold it together while you do the other end.

Here it is with both ends taped.
Set it into your mold and gently set cover all the way in.

Bend paper over top edge of mold trim if needed and tape.

Repeat on all 4 sides and its all finished. With a little practice it should only take you a minute or two to line your mold and it should be perfectly smooth inside so there are no marks on your finished logs.

No comments:
Post a Comment
Note: Only a member of this blog may post a comment.