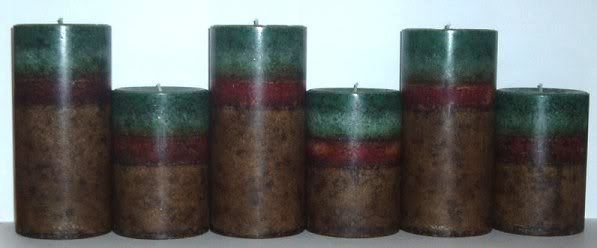
Pillar Candles are all the rage from Primitive to Contemporary! Here you will learn how to create that beautiful one of a kind look that a mottled layer pillar candle gives!
For this project you will need the following: IGI 1302B Mottle Blend from BCN for these candles. I used a 2/0 square braid wick, Mold Plugs, Mold Sealer Putty, Wick Rods, 3"x4" Seamless Aluminum Pillar Molds, 3"x6" Seamless Aluminum Pillar Molds, Cedar & Saffron Fragrance, and dye chips in Autumn Orange blended with Brown Color Block, Hunters Green Dye Chips and Brown Color Block.
First, pre-wick your molds by threading the wicking through the bottom hole in the mold. Tie the wicking off to a wick rod across the top of the mold. Pull the wick tight and place a mold plug into the hole along side the wick, taking care to be sure the wick is tight! Seal the bottom of the mold area around the plug and over it with the mold sealer putty.
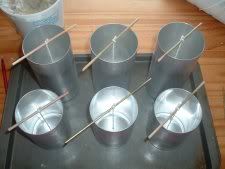
After your molds are ready, melt your wax. Heat the wax to 185, add your dye, then fragrance (I used .7 weight oz of fragrance per lb of wax for this particular scent and candle). Allow the wax to cool down to about 165 and pour into room temp molds. After your first layer is in the mold, swish the wax gently in the mold to bring it slightly up the side as shown below. Allow the wax to cool a bit, and poke relief holes around the wick. I use bamboo skewers for this.
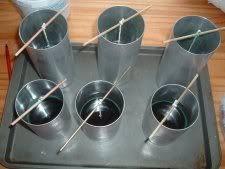
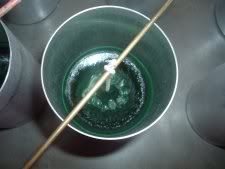
Repeat the process above for your next layer.
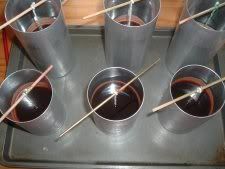

For the third layer, repeat the same process as for the first layer, except completely fill the mold.
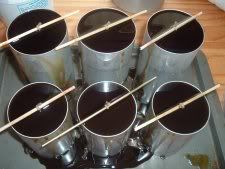
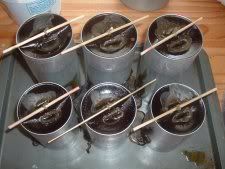
After you have poured the final layer and poked the relief holes, you will need to do a final layer or two. Repeat the process of poking relief holes with each subsequent layer. Do the final repours at 185*.
Have fun with making layered pillars. They are beautiful candles that draw a lot if interest!
Happy Candlemaking!
Flicker

No comments:
Post a Comment
Note: Only a member of this blog may post a comment.